サーバー開発者向け
私たちが構築するもの
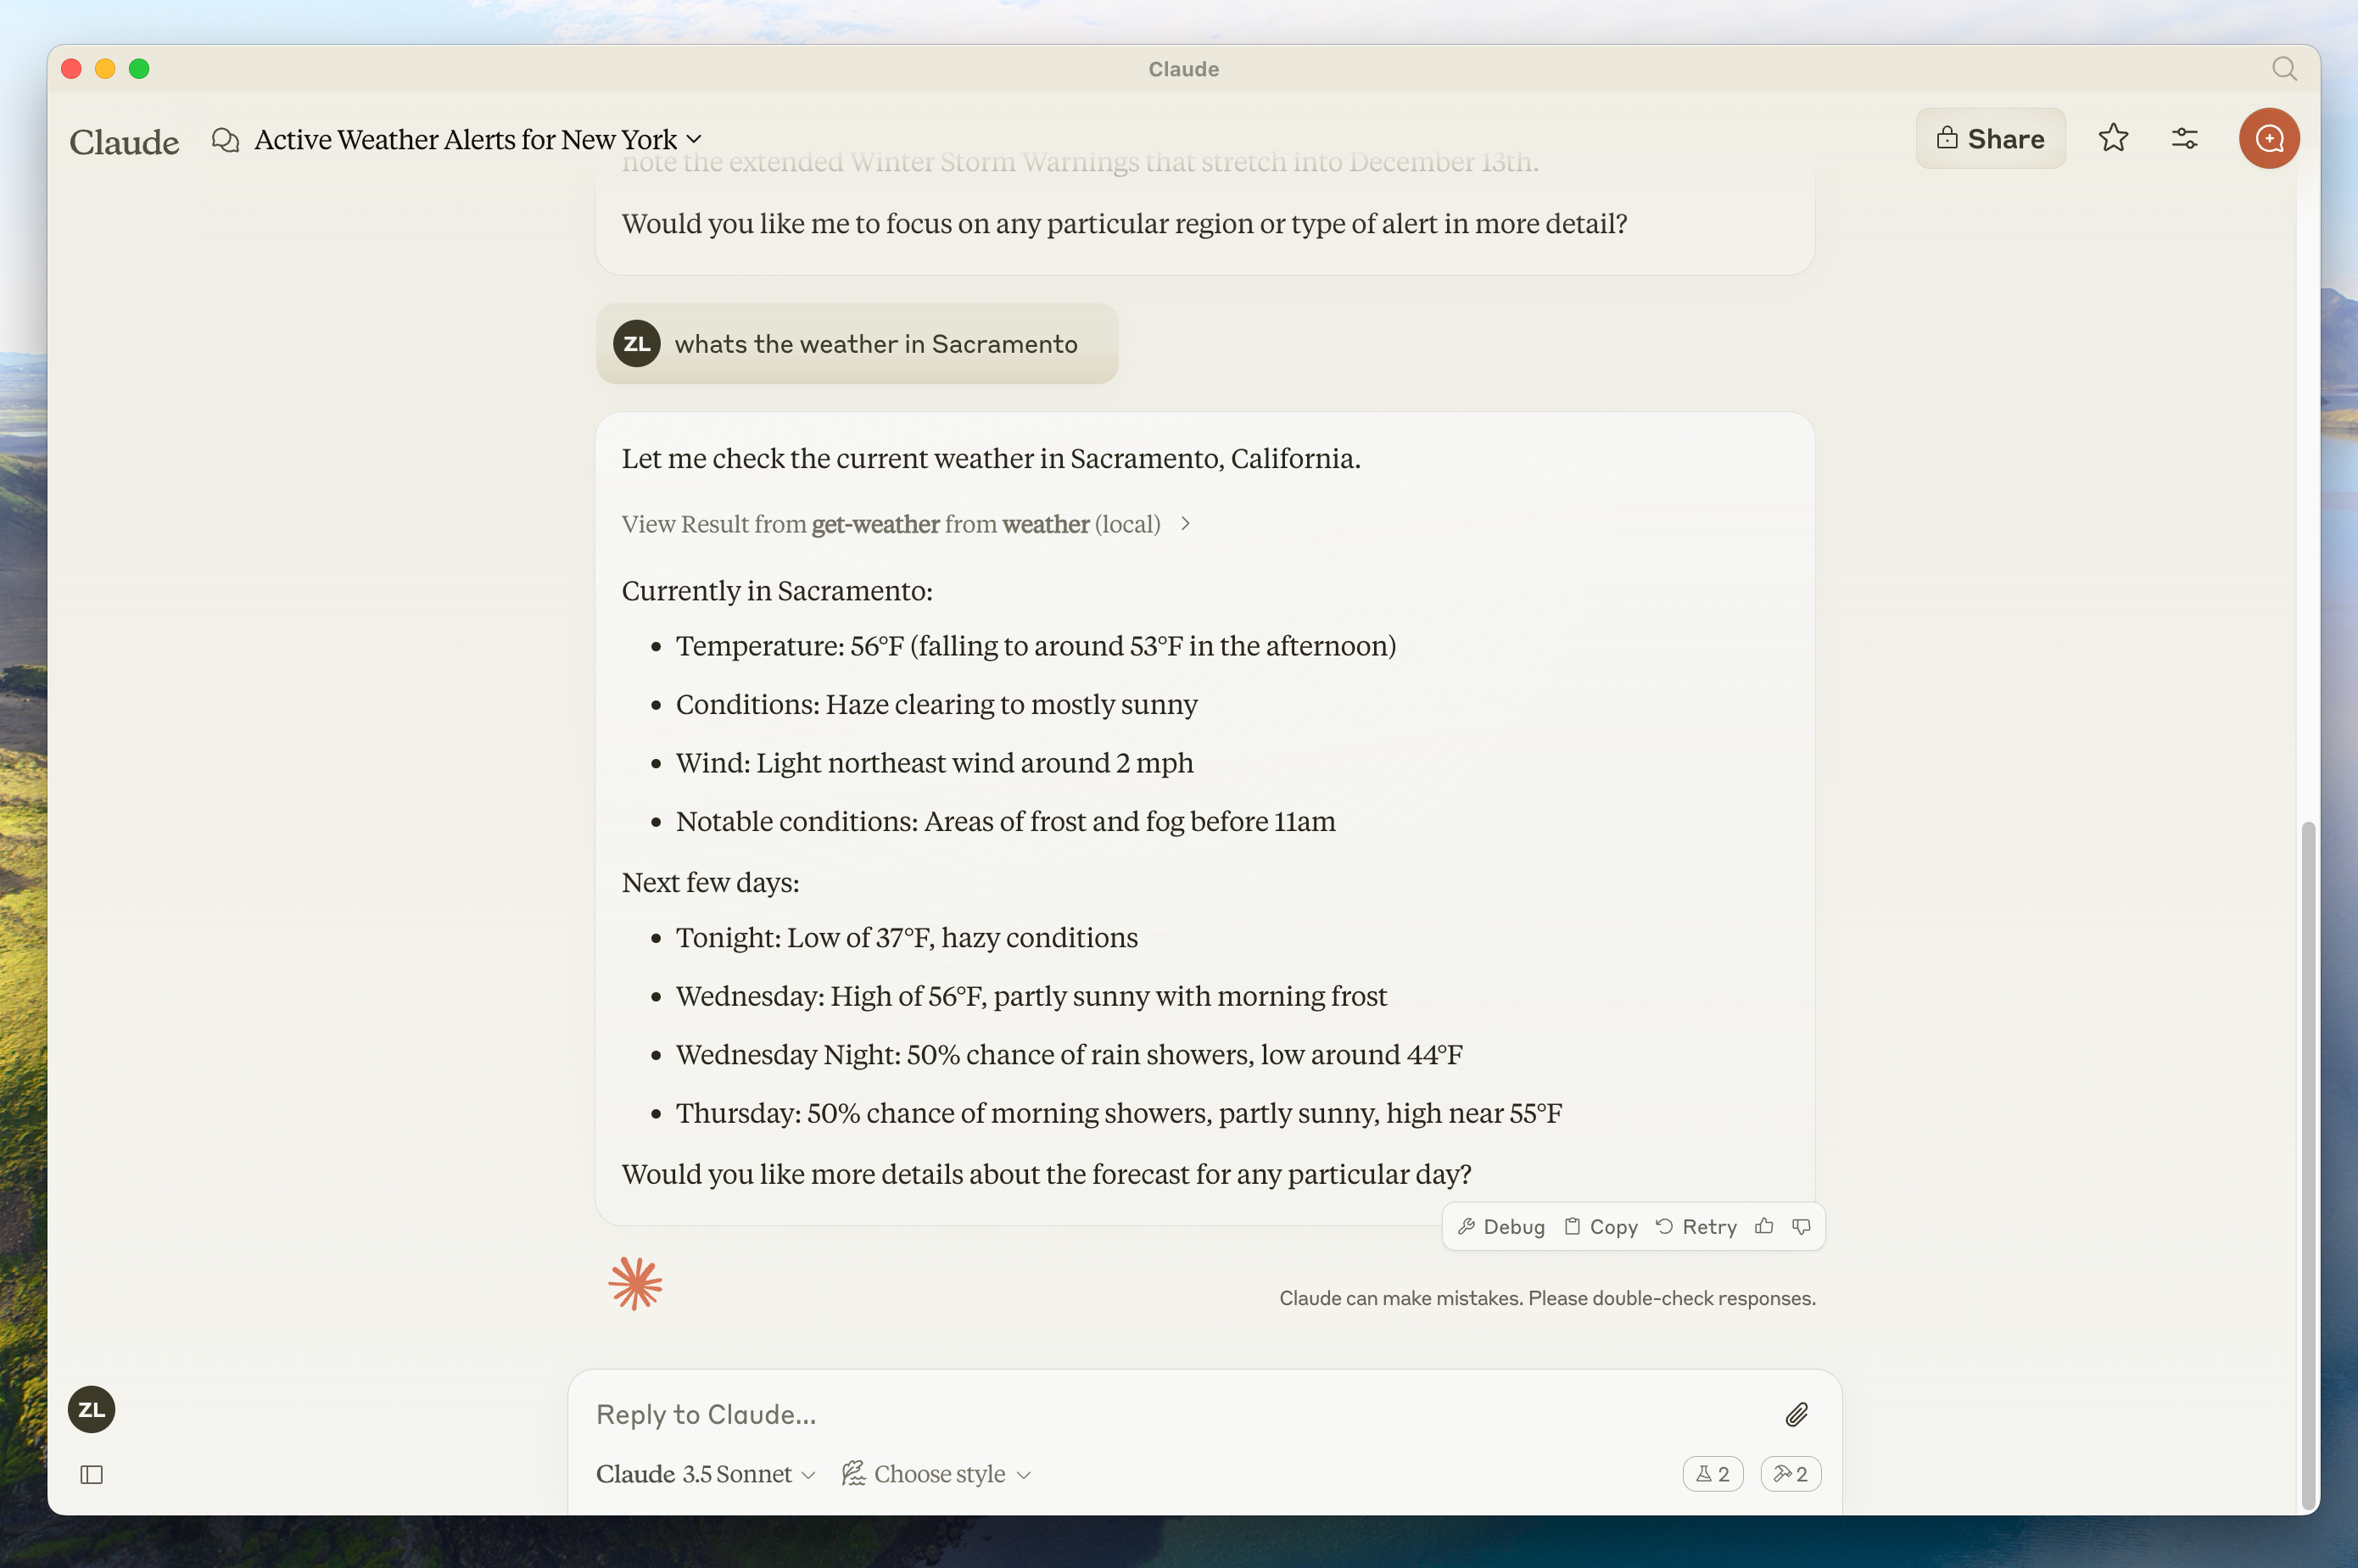
get-alertsとget-forecast 2 つのツールを公開するサーバーを構築します。次に、サーバーを MCP ホスト (この場合は Claude for Desktop) に接続します。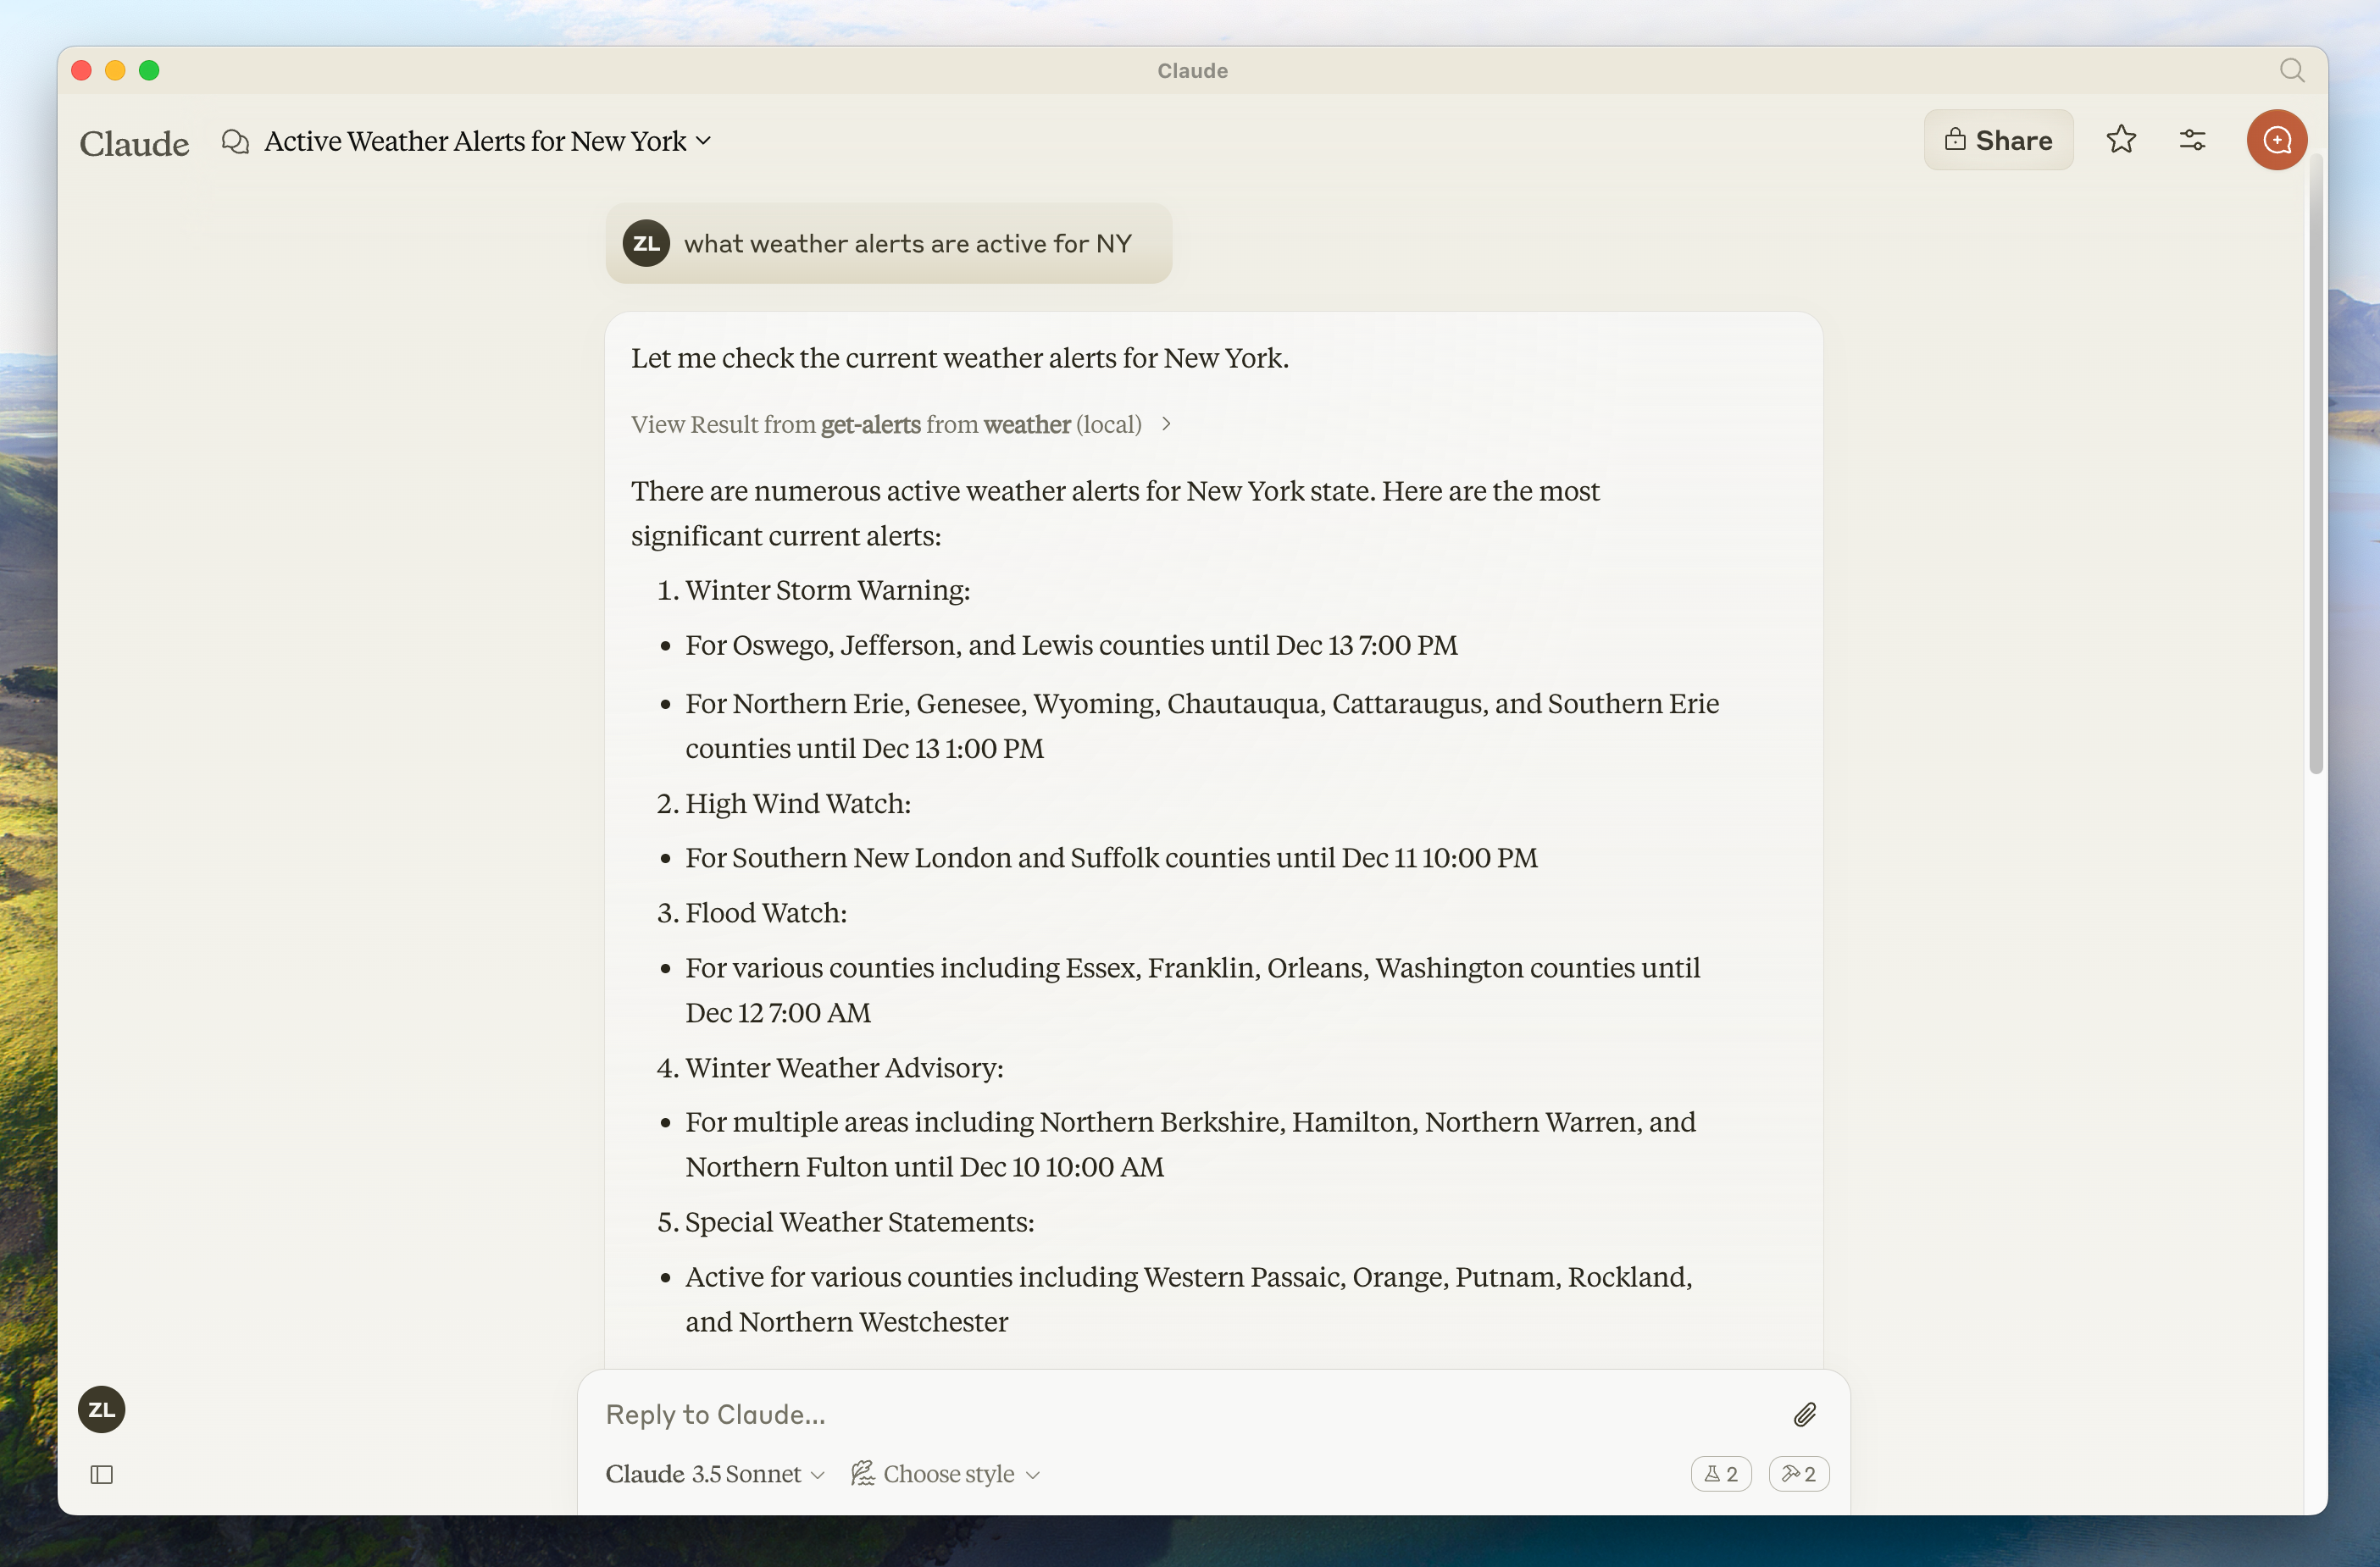
サーバーはどのクライアントにも接続できます。ここではシンプルさのために Claude for Desktop を選択しましたが、独自のクライアントを構築するためのガイドや、他のクライアントのリストもこちらにあります。
MCP のコアコンセプト
1.
2.
3.
前提知識
システム要件
環境を設定する
uvをインストールし、Python プロジェクトと環境を設定しましょう。curl -LsSf https://astral.sh/uv/install.sh | shpowershell -ExecutionPolicy ByPass -c "irm https://astral.sh/uv/install.ps1 | iex"uvコマンドが確実に実行されるように、後でターミナルを再起動してください。# Create a new directory for our project
uv init weather
cd weather
# Create virtual environment and activate it
uv venv
source .venv/bin/activate
# Install dependencies
uv add "mcp[cli]" httpx
# Create our server file
touch weather.py# Create a new directory for our project
uv init weather
cd weather
# Create virtual environment and activate it
uv venv
.venv\Scripts\activate
# Install dependencies
uv add mcp[cli] httpx
# Create our server file
new-item weather.pyサーバーの構築
パッケージのインポートとインスタンスの設定
weather.pyの先頭に追加します:ヘルパー関数
ツール実行の実装
サーバーの実行
uv run weather.pyを実行して、すべてが動作していることを確認してください。Claude for Desktop でサーバーをテストする
~/Library/Application Support/Claude/claude_desktop_config.json にある Claude for Desktop アプリの構成を開きます。ファイルが存在しない場合は必ず作成してください。code $env:AppData\Claude\claude_desktop_config.jsonmcpServersキーにサーバーを追加します。少なくとも 1 つのサーバーが適切に構成されている場合にのみ、MCP UI 要素が Claude for Desktop に表示されます。{
"mcpServers": {
"weather": {
"command": "uv",
"args": [
"--directory",
"/ABSOLUTE/PATH/TO/PARENT/FOLDER/weather",
"run",
"weather.py"
]
}
}
}{
"mcpServers": {
"weather": {
"command": "uv",
"args": [
"--directory",
"C:\\ABSOLUTE\\PATH\\TO\\PARENT\\FOLDER\\weather",
"run",
"weather.py"
]
}
}
}commandフィールドにuv実行可能ファイルへのフル パスを入力する必要がある場合があります。これは、MacOS/Linux ではwhich uv、Windows ではwhere uv実行することで取得できます。
必ずサーバーへの絶対パスを渡してください。
1.
2.
uv --directory /ABSOLUTE/PATH/TO/PARENT/FOLDER/weather run weather.py を実行して起動するにはコマンドでテストする
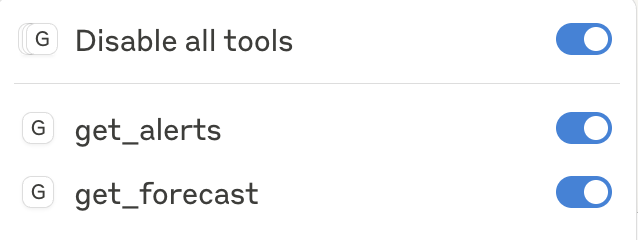
weatherサーバーで公開した 2 つのツールを取得していることを確認しましょう。これを行うには、ハンマー 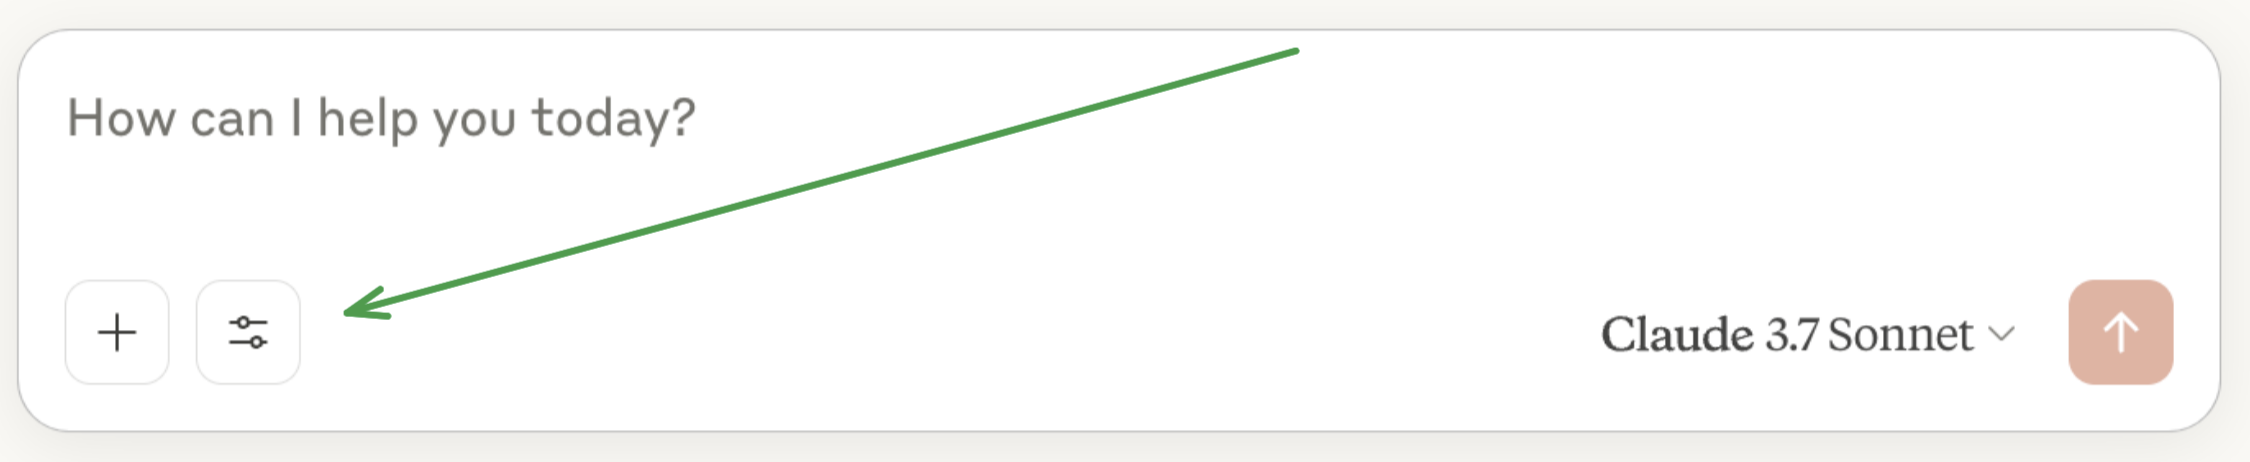
ボンネットの下で何が起こっているのか
1.
2.
3.
4.
5.
6.
更新日時 2025-03-11 08:28:55